Monday, August 31, 2020

Creative Prompts (more prompts for fun

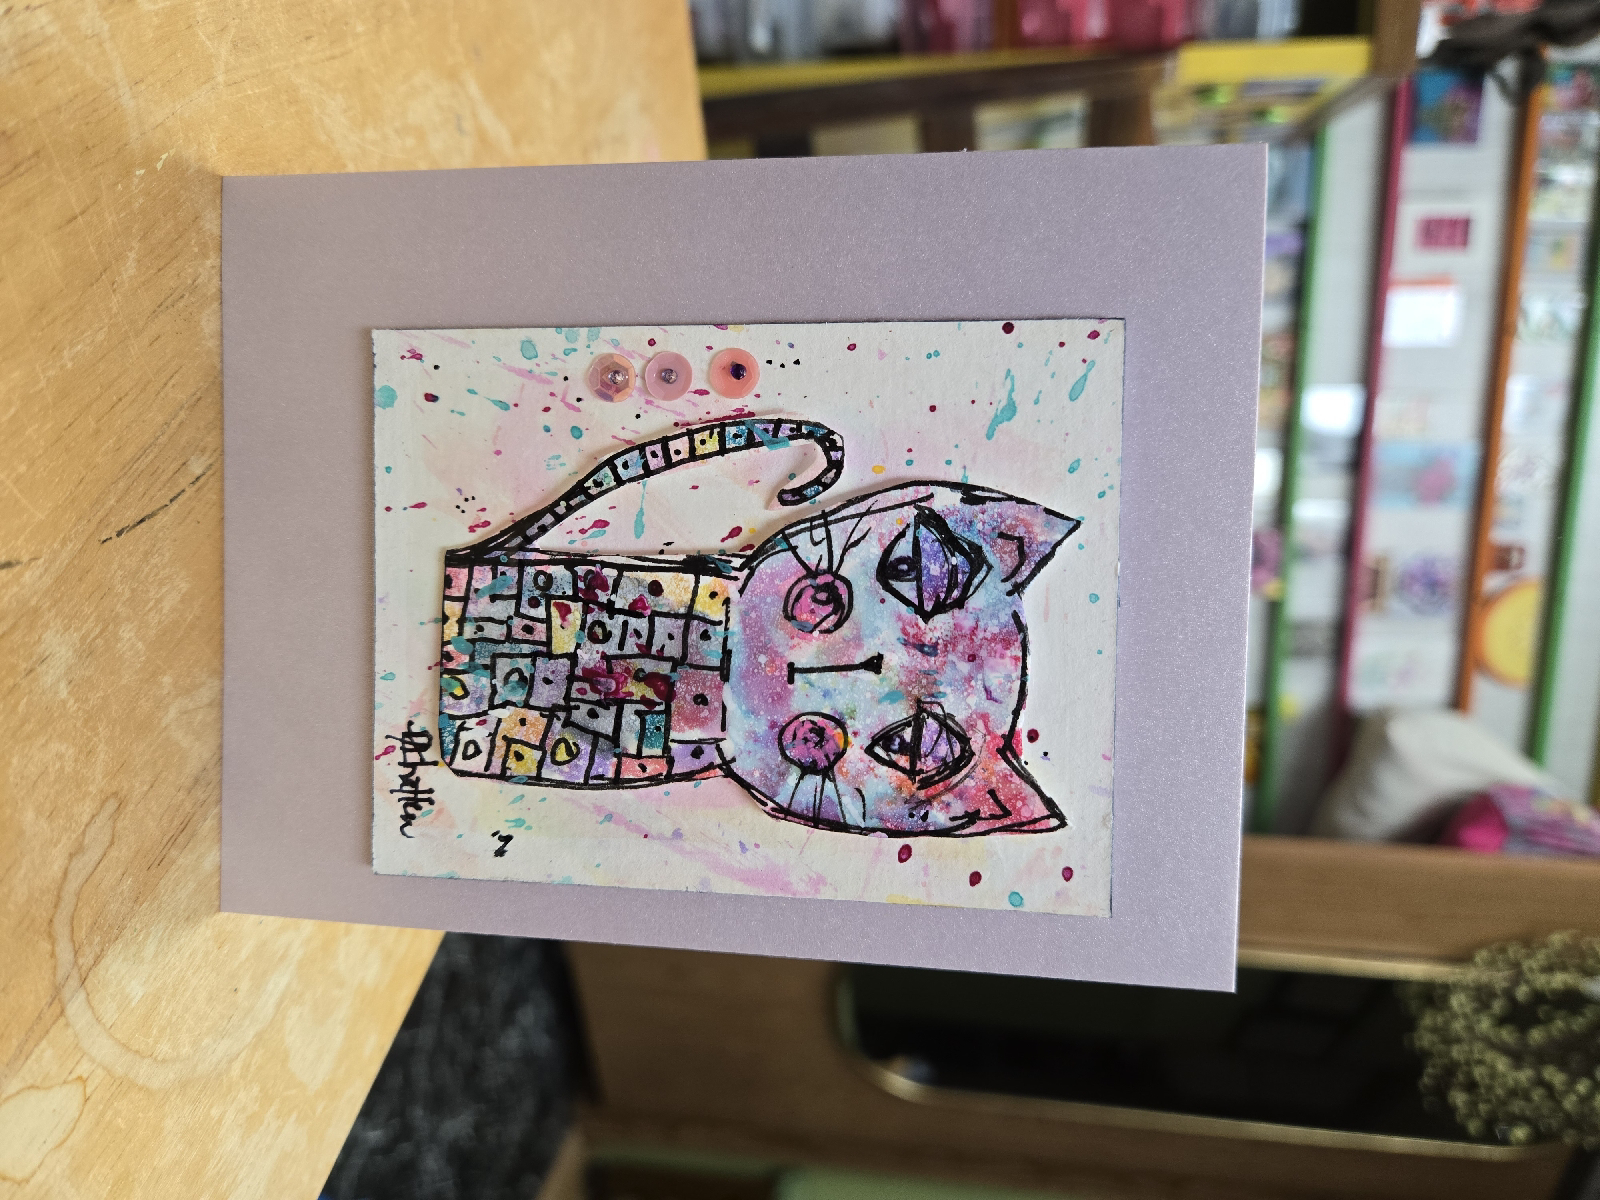
I've created the new prompt list for September 2020. While I will be creating cards with my friends that relate to these prompts I may also use them in my art journal or just topics to consider on my walk. Join us and please share your work on my Facebook page: https://www.facebook.com/kNACkofit


 September Prompts
[ ] 9.1 Turquoise and sand
[ ] 9.2 Coruscate: to reflect vibrantly, to sparkle
[ ] 9.3 food
[ ] 9.4 Oh my stars
[ ] 9.5 Too funny
[ ] 9.6 The 1-2 punch
[ ] 9.7 Friendship
[ ] 9.8 Bad habits
[ ] 9.9 Fun fold
[ ] 9.10 Manly
[ ] 9.11 Patrotic
[ ] 9.12 Sunshine
[ ] 9.13 Butterflies
[ ] 9.14 Have you got a wild hair?--today is your choice
[ ] 9.15 Zoo
[ ] 9.16 Just 2 layers
[ ] 9.17 Europe
[ ] 9.18 Rainbow
[ ] 9.19 Dance
[ ] 9.20 Circle
[ ] 9.21 Love, love, love
[ ] 9.22 Dogs or cats or both if it's raining haha
[ ] 9 23 Flower arrangement
[ ] 9.24 Weave
[ ] 9.25 Hello
[ ] 9.26 Glitter
[ ] 9.27 lumpy bumpy, you're going to need a cardboard protector and extra postage for this one
[ ] 9.28 Evening
[ ] 9.29 Halloween
[ ] 9.30 White on white

Portrait prom

The card at left is from the August prompt "portrait." I painted/drew a face from my cousins collectiom. "Cousin Elsa will always have Paris."


The card below is for the sympathy prompt in August.

Wednesday, August 26, 2020

Floppy Diskette Ornaments--worth a second look

Ornaments are not just for holidays or trees. Take a peek at this tutorial I did 10 years ago and get make some "old fashioned" fun with floppy diskettes (yes you can order them on Amazon if you threw yours away).


These would be a fun gift to make any time of year, expecially in 2020 when we can make wise cracks like, "thinking back to olden times..." or "wish this virus would go the way of the floppy diskette."  Keep thinking, you'll come up with more.


Here are the ones from the video--they are still hanging happily in my studio today.

And for those (including myself) who like to have the printed instructions:

Floppy Diskette ornaments—“Old School” Tech hanging photo


Create a photo ornament from a floppy diskette and share the love while "giving green."


Supplies for this project:

Old floppy diskettes—all colors work well

Paper binder clips—the old style with a hole on the top makes a great hanger

Paper clips of various sizes—the colored ones jazz it up

Paper cutter or scissors and ruler

Photos that can be cut to 3” by 3”

Embellishments—get creative and use what you have. Items used in sample:

Ribbon scraps, beads, charms, Scrabble™ letters, label maker, colored safety pins, jump rings, permanent markers and stickers.


Steps:

1. Trim 2 photos to 3" square


2. Use office clip to attach photos on either side of the diskette—the same clip holds photo on both sides.           You can glue the photo down with strong dry adhesive like double stick tape or glue dots if desired


3. Embellish with ribbon, words, wire, gem stones, stickers, safety pins, charms, etc. There really are no rules but these designer notes may inspire you:


Avoid adding symmetrical embellishments, asymmetrical is always more pleasing to the eye.

Utilize the different holes on the diskette for hanging charms or tying ribbon.

Add one embellishment directly on the photo.

Use label maker or sticker to add one appropriate word as accent element

Trace a marker around the edge of the photo for a more finished look

Limit your color scheme to 3 colors or monochromatic


4. Bend a paper clip into the binder clip to serve as a hanger for ornament


Enjoy your surplus items and employ your imagination for lots of other great variations on this design.


Tips:

-Use a black diskette for color photos and a colored diskette for black and white photos

-Create at least one of these every time you finish a scrapbook layout while you still have the extra photos, papers, and embellishments lying around

-Thread a ribbon hanger through the hole and use flush style binder clip for attaching the photo

-Embellish further with sparkling glitter or mica powders


Related projects:

1. Put a magnet on the back and store/display on metal file cabinet

2. Create a series on red and green diskettes for a holiday tree--add to the effect with cassette tape “ribbon” garlands, and snowflakes from internal computer parts. Glue letters from old keyboards together for additional ornaments

3. Use a lower profile clip and secure diskette to a scrapbook page or greeting card

4. String three together for a hanging photo mobile

5. Replace photos with stamped images or recycled greeting cards


Monday, August 17, 2020

Pandemic Projects Anyone?

July was Christmas in July for me as I created more Christmas cards then I will ever need to send this year (even with the expanded list I have prepared). 

I used some of the techniques I've learned in my new online art workshops presented by Amanda Evanston. For cards I painted watercolor paper with abstract florals. After they dried (tick, tock, tick tock) I cut the paper to make designs for the front of our cards. 


Friday, August 14, 2020

Prompted for Fun

 My friends Eddy and Lynn invited me to join their card prompt group. Every day there is a one or two word prompt and we create a card with that prompt and then text a photo of it to each other.

Here are a few of my recent entries:

1.  Prompt was music


2A and 2B. The washi tape prompt put me on a roll and I made these two plus 3 more which was great since I hadn't used my washi stash in a long time... The circles on the pear card are made by taping multiple strips of washi to cardstock and then punching out the 
circles. Thank you Pinterest for that reminder.


3. The hot air balloon card was for the wind prompt

4A and 4B. These are for the yellow-orange prompt which is one of my favorite color combos so I made a total of 6 for this one...


5. The Alice card is one of two that I made for the prompt grid. My other one is more grid-like but it's currently MIA.
6. The peacful pink bird is for the watermark prompt

Thursday, August 6, 2020

Family is everywhere

I've been participating with an online art subscription workshop called Insider's studio with the incredible Amanda Evanston. It's been such a soul soaring creative renewal for me. We have a workshop every Tuesday and a Facebook group to see the units, get encouraging videos, and enjoy sharing our work with the other participants. #insidersstudio


Unfortunately, I can't suggest you join right away because the workshop is closed to new members until next month.

I will, however, happily share the art I am creating here and on the web site. I plan on doing online sales this fall. This is my only option now that the galleries are closed and my workshops are not possible for me. The great news it that it won't be hard to get inventory--my art is gushing out of the studio and I am so happy.

Now about that Insider Studio and family...I've been following Amanda on Instagram for a few years. Check her out https://www.instagram.com/amanda_evanston/  Following her is how I learned of the Insider Studio. 


Amanda is Aunt Peaches! I feel like I just did one of those family DNA tests and found out I'm related to a movie star! I can't believe I hadn't figured that out before today. 

I am grateful for all gifts from my Creator and today, I'm grateful for Aunt Peaches.

These birds are the results from her "Disco Chicken" workshop. I call them my absurd birds.


Friday, May 29, 2020

Sending a hug in the mail


I ordered the large and small daisy punches
from Stampin" Up.  Now I'm putting flowers
on everything. 


I'm back on mission. Sending cards to family and friends has been a mission of mine for years, however, I slacked off in 2018. I went down to holidays, some birthdays, sympathy and thank you notes (some handmade some on stationary--Mamma always said a thank you  note cannot be neglected).

I have continued to make some cards, But I've also made quite a bit of art for gallery sales and for workshops. Bottom line on the cards--I stopped mailing them. Current events have led to more time in the studio.

For mother's day I got a boatload of supplies from Stampin' Up. I ordered so many that it made sense to sign up as a hobbyist demonstrator. So for the next 140 days I'm a Stampin' Up demonstrator. Here's the link to shop on my demonstrator page if you are so inclined...

https://www.stampinup.com/ecweb/default.aspx